Today, someone on Ravelry posted about wanting to learn how to make fringes on their afghan.
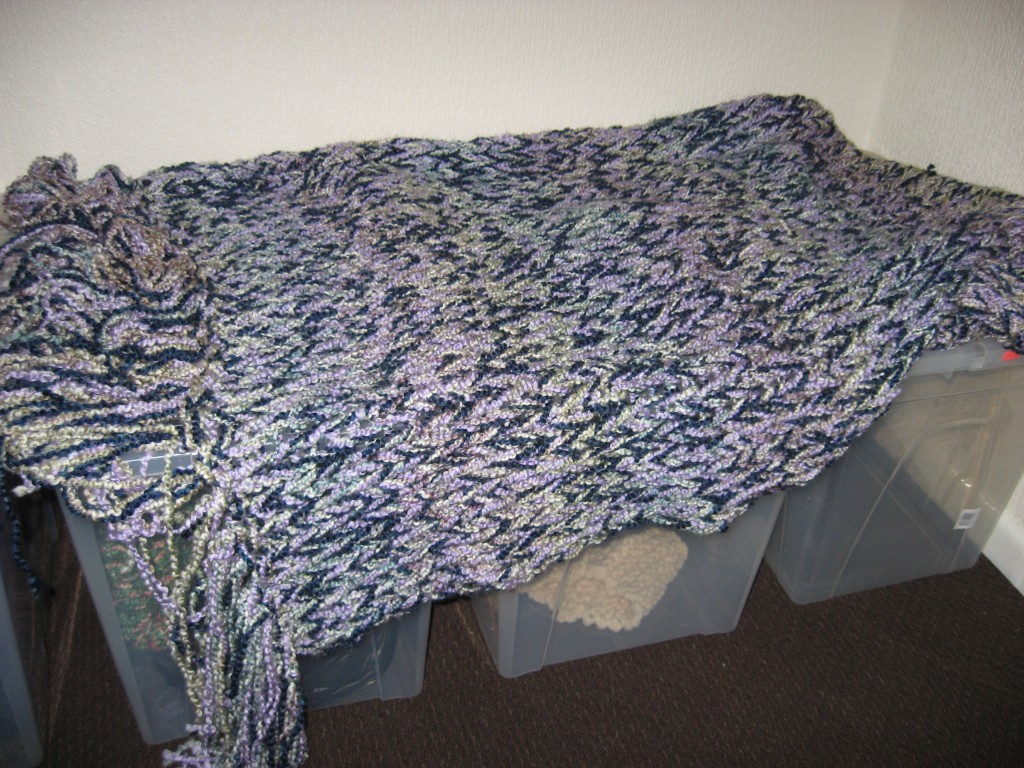
I’ve made many copies (different colour schemes) of the Lion Brand Fast Finish Throw – some with fringes and some without.
Here’s a Lavender one I made:
The main thing I learned was how to cut fringes all the same length without wearing yourself out measuring every single one.
Here’s how, for that pattern:
Supplies:
-a pillow (regular bed-size)
-scissors
-2 safety pins
-a ruler or measuring tape
Method:
-determine the length of the fringes (they will eventually get folded in half) i.e., 20cm
-place safety pins on the pillow 20 cm apart in a straight line – use the ruler or measuring tape to get the correct distance
-take the tail end of the yarn, tie a knot in it (this is especially important with Lion Brand Homespun), make sure you catch the “devil strand” in the knot – that black or white string running through Homespun yarn
-place the first knot on one of the safety pins, and pull enough yarn from the ball (I almost always have the yarn ball on my right side) so that you can get a long enough piece of yarn to reach the other safety pin
-Tie a knot at the second safety pin, and then tie a second knot an inch or so to the right of the RH knot you just made.
-Cut between the knots. This keeps them from fraying at either end and the whole strand dissolving on you, but over time there will still be fraying beyond the knots. That’s just the way Homespun is.
When you’re ready to put the fringe on, fold them in half. Using your fingers or a crochet hook, pull the loop through the end of the afghan, and then tie them on securely (you can knot them if you want).
-Repeat!**
**I usually find that following the directions on the pattern for the number of required fringes on the Fast Finish Throw is a great overestimation.
